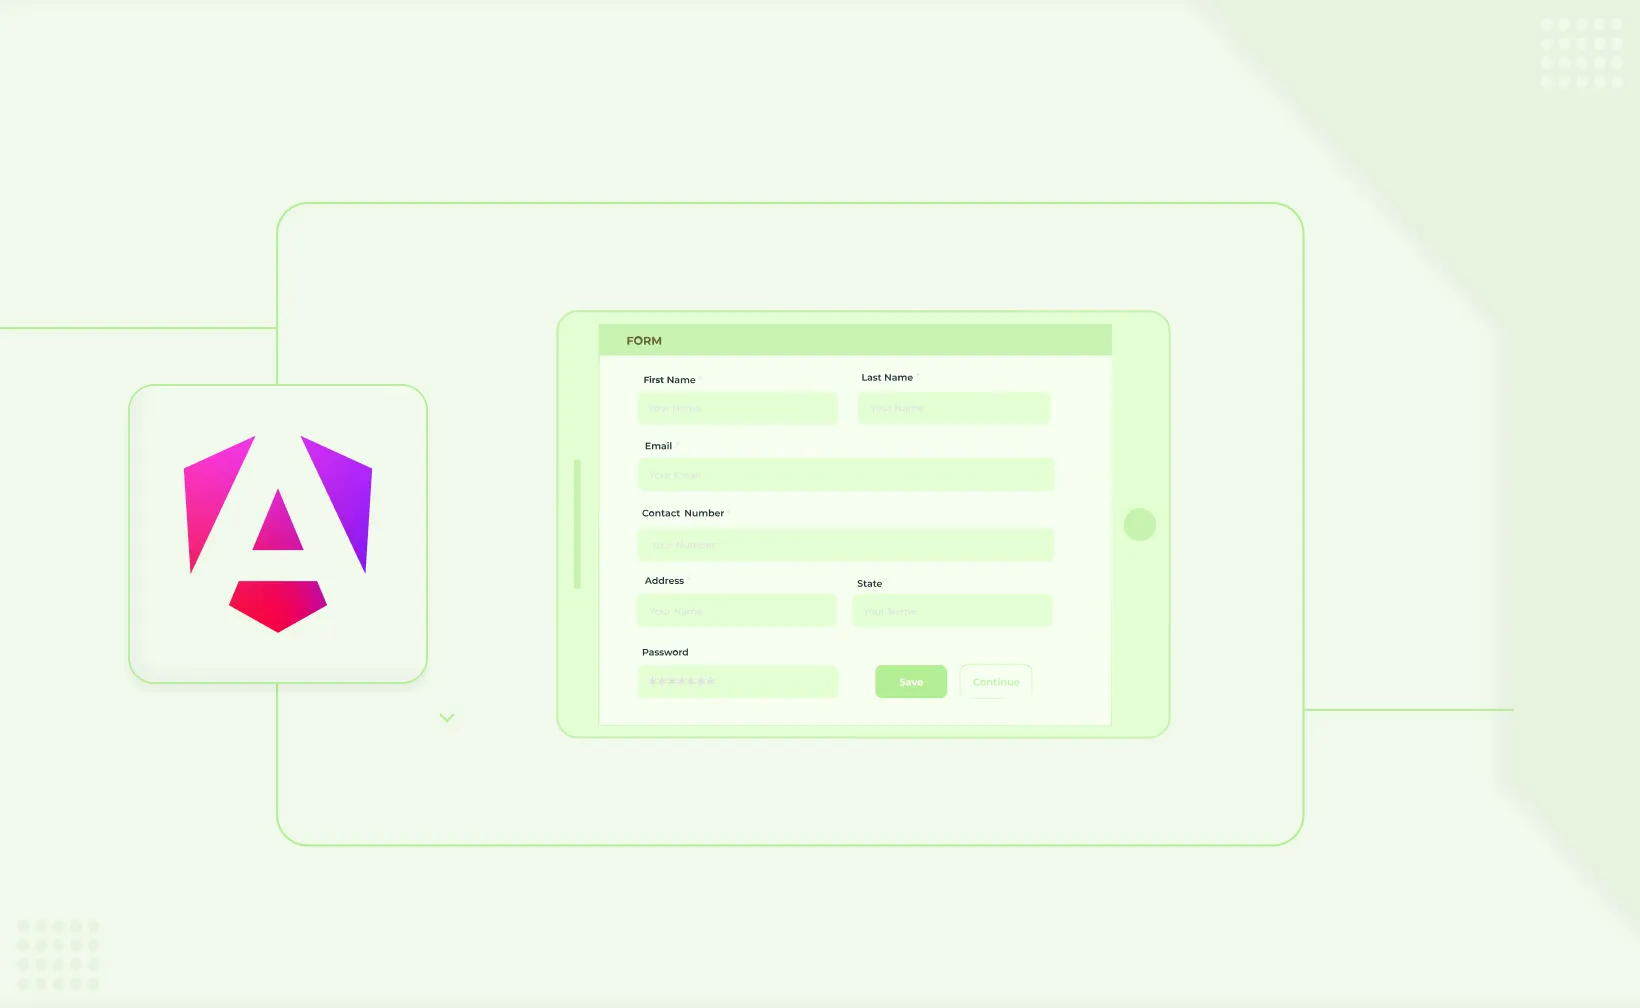
Guide to Create Dynamic Forms in Angular
Before diving into Angular dynamic forms, it’s important to cover a few key prerequisites. This will ensure that you have the necessary foundation to implement dynamic forms effectively.
Familiarity with TypeScript
Understanding Standalone Angular Components
Template-Driven Forms
Reactive Forms
Understanding these concepts will give you the foundation needed to implement dynamic forms effectively in Angular, allowing you to choose the right approach based on your application's needs. Now that you have a solid foundation, let's dive into the first approach for building forms in Angular:
Template Forms
In Angular, template-driven forms are a simple way to handle form inputs and validations directly within the template. Here is a practical example that demonstrates how to create a form to capture user details like name, email, city, gender, and age.
Typescript File:
import { Component } from '@angular/core';
import { FormsModule } from '@angular/forms';

@Component({
  selector: 'app-dynamic-forms',
  standalone: true,
  imports: [FormsModule],
  templateUrl: './dynamic-forms.component.html',
  styleUrl: './dynamic-forms.component.css'
})

export class DynamicFormsComponent {
  user = {
    name: '',
    email: '',
    city: '',
    gender: '',
    age: 0
  }

  onSubmit(form : any){
    if(form.valid) console.log('Form has been submitted');
    else console.log('Failed to submit the form.');
  }
}
user = {
name: '',
email: '',
city: '',
gender: '',
age: 0
}This code defines an object named user. It acts as a data model to store the user information collected through the form. Each property (name, email, etc.) represents a form field and is initialized with an empty string or zero.
For template forms, FormsModule is imported. To get the data from the form, we have to create one object which is the user in this case. The fields in the user object are bound to the form using ngModel . In template forms, the name field in the input tag and the object field which is bound to the form should have the same name otherwise an error occurs. The name of the form can be specified using a hashtag and giving it the value "ngForm".
Template File:
<form #userForm = "ngForm" (ngSubmit)="onSubmit(userForm)" action="">

            <input type="text" placeholder="Name" name="name"  [(ngModel)]="user.name">

            <input type="text" placeholder="Email" name="email" [(ngModel)]="user.email">

            <input type="text" placeholder="City" name="city" [(ngModel)]="user.city">

            <input type="text" placeholder="Gender" name="gender" [(ngModel)]="user.gender">

            <input type="text" placeholder="Age" name="age" [(ngModel)]="user.age">

            <button type="submit">Submit</button>
</form>
While this approach of form template is straightforward for basic use cases, it becomes increasingly challenging when the requirements demand flexibility, scalability, or frequent updates. Let’s explore why a dynamic form template-based approach with traditional template forms may not always be the best choice.
Drawbacks of Template-Driven Forms
1. Limited Flexibility for Complex Structures
A form template is tied closely to the structure defined in the component. Any modification, such as adding new fields or changing validations, requires direct edits in the form component's template. This tightly coupled structure makes the code less dynamic and harder to reuse.
2. Scalability Challenges in Multi-Form Applications
In applications that have multiple forms, managing templates for each form becomes cumbersome. The appcomponent shell template passes down form-related configurations, but any change requires you to touch every instance where the form is defined. This approach is not only time-consuming but also prone to errors, especially in large-scale applications.
3. Hard to Maintain and Update
A form component's template built with a template form approach can quickly become cluttered as you add more fields, validation rules, or conditional logic. Refactoring or updating such templates can be a daunting task. For instance, if you want to modify the layout or add new styling, the template determines how much effort is required. In cases where there are multiple dependencies, even a minor change could ripple through the entire application.
4. Difficulties with Dynamic Form Logic
One of the biggest hurdles is implementing a dynamic form template-based structure. Unlike static templates, dynamic forms need to adapt at runtime—adding fields, changing labels, or even modifying validation rules dynamically. Achieving this in template forms requires extensive use of conditional statements and directives within the template, leading to complex and less readable code.
5. Reduced Separation of Concerns
In a typical template-based approach, business logic often gets mixed into the form component's template. This violates the principle of separation of concerns, making it harder to test, debug, and maintain the form logic.
Reactive Forms
This code snippet showcases a dynamic form built using Angular's reactive forms approach. Unlike template-driven forms, reactive forms offer more control over form structure and validation.
Typescript File:
import { Component } from '@angular/core';
import { FormControl, FormGroup, ReactiveFormsModule, Validators } from '@angular/forms';

@Component({
  selector: 'app-dynamic-forms',
  standalone: true,
  imports: [ReactiveFormsModule],
  templateUrl: './dynamic-forms.component.html',
  styleUrl: './dynamic-forms.component.css'
})

export class DynamicFormsComponent {

  userForm : FormGroup = new FormGroup({
    name: new FormControl('', [Validators.required]),
    email: new FormControl('', [Validators.required]),
    city: new FormControl('', [Validators.required]),
    gender: new FormControl('', [Validators.required]),
    age: new FormControl(0, [Validators.required])
  })

  onSubmit(form : any){
    if(form.valid) console.log('Form has been submitted');
    else console.log('Failed to submit the form.');

  }
}
Form Group (FormGroup): The userForm represents a central structure that holds all form controls (individual input fields) of the form. It acts as the form model.
Form Controls (FormControl): Each input element in the form (name, email, etc.) is represented by a FormControl object. These controls manage the user input, validation state, and value. They are created using new FormControl() or the FormBuilder service.
Validation Rules: Validation is an integral part of forms. Angular provides built-in validators like required, minLength, maxLength, and pattern. Additionally, you can create custom validators to meet specific validation requirements.
There is another approach for using Reactive forms, which is using FormBuilder. For that we have to update imports from '@angular/forms' and import FormBuilder.
import { Component, inject, OnInit } from '@angular/core';
import { FormBuilder, FormGroup, ReactiveFormsModule, Validators } from '@angular/forms';
Code inside the DynamicFormsComponent class:
fb = inject(FormBuilder)
  userForm !: FormGroup

  ngOnInit(): void {
    this.userForm = this.fb.group({
      name: ['', [Validators.required]],
      email: ['', [Validators.required]],
      city: ['', [Validators.required]],
      gender: ['', [Validators.required]],
      age: ['', [Validators.required]]
    })
  }
In the provided code, the goal is to create and manage forms effectively using form controls and form groups. A form group is a logical container that allows developers to group related form controls, making it easier to handle form validation and data collection in a structured manner.
There are two approaches highlighted in the code to define form controls: one uses the FormBuilder service, and the other manually initializes a form group with FormControl instances. The FormBuilder method simplifies the process by providing a clean and concise syntax to generate form controls dynamically. This approach is especially useful when working with forms containing a large number of fields or when form structures need to be built programmatically.
The manual initialization of form groups provides greater flexibility for creating and managing custom form controls. For example, if you need to build a custom form control to handle unique validation or data input requirements, this approach offers the control needed to do so.
Template File:
<div>
    <form [formGroup]="userForm" (ngSubmit)="onSubmit(userForm)">
        <div>
            <input type="text" placeholder="Name" formControlName="name">

            @if (userForm.controls['name'].invalid && userForm.controls['name'].touched) {
                <span> This field is required </span>
            }
        </div>
        <div>
            <input type="text" placeholder="Email" formControlName="email">
            @if (userForm.controls['email'].invalid && userForm.controls['email'].touched) {
                <span> This field is required </span>
            }
        </div>
        <div>
            <input type="text" placeholder="City" formControlName="city">
        </div>
        <div>
            <input type="text" placeholder="Gender" formControlName="gender">
            @if (userForm.controls['gender'].invalid && userForm.controls['gender'].touched) {
                <span> This field is required </span>
            }
        </div>
        <div>
            <input type="text" placeholder="Age" formControlName="age">
        </div>
        <div>
            <button type="submit">Submit</button>
        </div>
    </form>
</div>
In this code, a reactive form is created using the formGroup directive, which binds the form to the userForm model in the component. The form includes input fields for name, email, city, gender, and age, each linked to a corresponding FormControl via the formControlName directive.
The ngSubmit directive triggers the onSubmit() method when the form is submitted. Within each input field, there's conditional validation that checks whether a field is invalid and touched. If the form control is invalid (e.g., empty or incorrect format) and has been touched by the user, a message is displayed indicating that the field is required.
Dynamic Form in angular
Typescript File:
import { Component, inject } from '@angular/core';
import { FormArray, FormBuilder, FormControl, FormGroup, ReactiveFormsModule, ValidatorFn, Validators } from '@angular/forms';

interface Options {
  key: string;
  value: string;
}
interface ValidatorsForInput {
  required?: boolean;
  minLength?: number;
  maxLength?: number;
}

interface InputProps {
  label: string;
  name: string;
  type: string;
  id?: string;
  controlName: string;
  value: string | number;
  options?: Options[];
  validators?: ValidatorsForInput;
  arrayOrControl?: string;
}

@Component({
  selector: 'app-dynamic-forms',
  standalone: true,
  imports: [ReactiveFormsModule],
  templateUrl: './dynamic-forms.component.html',
  styleUrl: './dynamic-forms.component.css'
})
export class FormDynamicRadComponent {
  formBuilder: any = inject(FormBuilder);
  userForm!: FormGroup;
  formInputs: InputProps[] = [
    {
      label: 'Enter your name: ',
      name: 'name',
      type: 'text',
      id: '',
      controlName: 'name',
      value: '',
      validators: {
        required: true,
        minLength: 8,
      },
    },
    {
      label: 'Enter your  email: ',
      name: 'email',
      type: 'text',
      id: '',
      controlName: 'email',
      value: '',
      validators: {
        required: true,
      },
    },
    {
      label: 'Enter your city: ',
      name: 'city',
      type: 'select',
      id: 'city',
      controlName: 'city',
      options: [
        { key: 'mumbai', value: 'Mumbai' },
        { key: 'delhi', value: 'Delhi' },
        { key: 'pune', value: 'Pune' },
        { key: 'kolkata', value: 'Kolkata' },
        { key: 'chennai', value: 'Chennai' },
      ],
      value: '',
    },
    {
      label: 'Enter your gender: ',
      name: 'gender',
      type: 'radio',
      id: 'gender',
      controlName: 'gender',
      options: [
        { key: 'male', value: 'Male' },
        { key: 'female', value: 'Female' },
      ],
      value: '',
    },
    {
      label: 'Enter your age: ',
      name: 'age',
      type: 'number',
      id: 'age',
      controlName: 'age',
      value: 0,
    },
    {
      label: 'Enter your hobby: ',
      name: 'hobby',
      type: 'string',
      id: 'hobby',
      controlName: 'hobby',
      value: '',
      arrayOrControl: 'FormArray',
    },
  ];

  getValidators(validators?: ValidatorsForInput) {
    const validatorsInInput: ValidatorFn[] = [];
    if (validators?.required) validatorsInInput.push(Validators.required);
    if (validators?.minLength)
      validatorsInInput.push(Validators.minLength(validators.minLength));
    if (validators?.maxLength)
      validatorsInInput.push(Validators.maxLength(validators.maxLength));
    return validatorsInInput;
  }

  getHobbies(newValue: InputProps) {
    return this.userForm.get(newValue.controlName) as FormArray;
  }

  addHobby(controlname: any) {
    let c = new FormControl('');
    this.getControls(controlname).push(c);
  }

  removeHobby(controlName: string, index: number) {
    this.getControls(controlName).removeAt(index);
  }

  ngOnInit(): void {
    this.userForm = this.getForm();
    console.log(this.userForm.value);
  }

  getControls(a: any) {
    return this.userForm.get(a) as FormArray;
  }

  getForm(): FormGroup {
    return this.formBuilder.group(
      this.formInputs.reduce((acc, newValue) => {
        if (newValue.arrayOrControl == 'FormArray') {
          let con = this.formBuilder.array([
            new FormControl(''),
            new FormControl(''),
          ]);

          return {
            ...acc,
            [newValue.controlName]: con,
          };
        }

        return {
          ...acc,
          [newValue.controlName]: [
            newValue.value,
            this.getValidators(newValue.validators),
          ],
        };
      }, {})
    );
  }

  onSubmit(form: any) {
    console.log(this.userForm.value);
  }
}
In Angular, handling dynamic forms efficiently is a crucial part of creating interactive and responsive applications. One of the key features that allows for handling such scenarios is FormArray. A FormArray is an array-like structure that holds multiple form controls and is especially useful when dealing with a variable number of fields, such as a list of hobbies, phone numbers, or skills. These fields can be dynamically added or removed, making the form more adaptable and flexible.
The example above demonstrates how a FormArray is used to manage a dynamic list of hobbies in the form. In this case, the form contains various input fields such as text, email, select, and radio buttons, along with a FormArray for hobbies. The FormArray allows the user to add and remove hobbies as needed, providing a dynamic user experience. The addHobby() and removeHobby() methods facilitate this interaction by dynamically adding and removing FormControl instances from the FormArray.
How It Works:
FormBuilder: The FormBuilder service is used to create the form structure. It simplifies the creation of FormGroup and FormArray instances. In the given code, the getForm() method uses FormBuilder to create the form controls based on the form input configuration (formInputs). It dynamically determines whether to create a standard form control or a FormArray based on the input type.
Dynamic Form Inputs: The formInputs array holds the definitions of the form fields, including their types, names, validation rules, and options (in case of select or radio fields). These fields are iterated in the template using @for loop to generate the appropriate form controls.
Form Control Initialization: For regular inputs (like text, email, number), the form controls are initialized with default values and validators. For FormArray fields like hobbies, a new FormControl is added with an initial value (an empty string, in this case) when the addHobby() method is invoked. Each FormControl in the FormArray is also initialized with the corresponding validation rules.
Validation: The getValidators() method is responsible for returning the appropriate validation rules based on the input configuration. It supports common validations like required, minLength, and maxLength. When a field is invalid, error messages are displayed, helping users to correct any mistakes before submitting the form.
Dynamic Changes: A notable feature of this implementation is the ability to create form controls dynamically. The addHobby() method allows the user to add new hobby inputs on demand, and the removeHobby() method enables removing them. This dynamic behavior is essential for forms that require users to interact with the form and modify it based on their inputs.
Form Array Handling: Inside the ngOnInit() lifecycle method, the form is built using the getForm method, which reads through the formInputs array to generate the form structure dynamically. If an input requires a FormArray, it will initialize a new FormArray with FormControl instances. This structure ensures that forms can grow and shrink based on the user’s interactions, without the need to manually define each input.
Template File:
<form (ngSubmit)="onSubmit(userForm)" [formGroup]="userForm">
  <div>
    @for (ip of formInputs; track $index; ) {
    <div>
      @if (ip.type === 'text' || ip.type === 'number' || ip.type === 'email' ||
      ip.type === 'password' ) {
      <div>
        <label for=""> {{ ip.label }} </label>
        <input
          [type]="ip.type"
          [name]="ip.name"
          [formControlName]="ip.controlName"
        />
      </div>
      @if (ip.validators) {
	@if(userForm.get(ip.controlName)?.invalid &&
      (userForm.get(ip.controlName)?.dirty ||
      userForm.get(ip.controlName)?.touched) ){
      		@if(userForm.get(ip.controlName)?.hasError('required')){
      		<div>{{ ip.name }} is required.</div>
      		}
		@if(userForm.get(ip.controlName)?.hasError('minLength')){
      		<div>Minimum {{ ip.validators.minLength }} characters are 				required.</div>
      } @if(userForm.get(ip.controlName)?.hasError('required')){
      <div>Maximum {{ ip.validators.maxLength }} are allowed.</div>
      } } } } @else if (ip.type === 'select') {
      <div>
        <label for="">{{ ip.label }}</label>
        <select
          [name]="ip.name"
          [id]="ip.id"
          [formControlName]="ip.controlName"
        >
          @for (opt of ip.options; track $index) {
          <option [defaultSelected]="ip.value" [value]="opt.key">
            {{ opt.value }}
          </option>
          }
        </select>
      </div>
      } @else if (ip.type =='radio') { @for (opt of ip.options; track $index;let
      j=$index ) {
      <div>
        <label [for]="j">{{ opt.value }}</label>
        <input
          [id]="j"
          [name]="ip.controlName"
          type="radio"
          [value]="opt.key"
          [formControlName]="ip.controlName"
        />
      </div>
      } }
      @if (ip.arrayOrControl=="FormArray") {
      <div [formArrayName]="ip.controlName">
        @for (item of getControls(ip.controlName).controls; track $index; let
        i=$index ) {

        <label for=""> {{ ip.label }} </label>
        <input [type]="ip.type" [formControlName]="i" [name]="ip.name" />
        <button (click)="removeHobby(ip.controlName, i)">Remove</button>
        }
      </div>
      <button type="button" (click)="addHobby(ip.controlName)">Add</button>
      }
    </div>
    }
  </div>
  <button>Submit</button>
</form>
This Angular template dynamically generates a form based on the configuration provided in the formInputs array. It utilizes Angular’s reactive forms approach, binding the form to a userForm object and handling submission with the onSubmit() method.
Key Features:
Dynamic Input Rendering:
The form supports various input types, such as text, number, email, password, select, and radio buttons, rendered by iterating over the formInputs array.For select and radio inputs, options are dynamically generated from the configuration.Form Validation:
Validation messages are displayed based on the form control's state. Errors like "required" or "minLength" are shown if the field is invalid and touched or dirty.FormArray Support:
If an input is of type FormArray, a set of input fields is displayed, allowing users to add or remove items dynamically.Add/Remove Items:
For FormArray fields, users can add new items with an "Add" button and remove them with a "Remove" button, utilizing component methods like addHobby() and removeHobby().
This setup allows for flexible form creation, dynamic input handling, validation, and form array management. The form submission is triggered by the button at the end, and all form controls are managed using Angular’s reactive form model.
Uplift your app’s functionality with Angular Minds by building responsive, user-focused forms that drive higher engagement and performance through our top-tier Angular development services.
Conclusion:
In conclusion, dynamic forms in Angular provide a powerful way to handle complex and flexible form structures, especially when user input varies or needs to be updated dynamically. Both template-driven and reactive forms offer distinct advantages, but reactive forms are typically better suited for dynamic scenarios due to their structure and flexibility.
Here's a summary of key points:
Advantages of Reactive Forms for Dynamic Forms:
Centralized Control:
Reactive forms use FormGroup and FormControl to centralize the management of form data and validation. This makes it easier to modify form fields dynamically.Dynamic Form Elements:
You can programmatically add or remove form controls, enabling dynamic behavior based on user input or external data.Better Validation:
Reactive forms offer more robust and granular control over validation logic, including asynchronous validators.Separation of Concerns:
Business logic is handled in the component, not the template, making it easier to maintain, test, and debug.
Key Considerations for Dynamic Forms:
Scalability: Reactive forms are better for large-scale applications where forms need to be adjusted or created based on user input or API responses.
Maintainability: The form’s logic is kept separate from the view, which leads to better code organization and easier updates or refactors.
Flexibility: The ability to use FormArray, FormGroup, and FormControl gives developers fine-grained control over the form’s structure, including nested and repeatable sections.
While template-driven forms are simpler to implement, reactive forms are more suited for dynamic and scalable applications. By using reactive forms, Angular provides developers with the tools to create highly adaptable and easily maintainable dynamic forms that meet the needs of complex applications.

Related articles