Brief - Learn how to implement protected routes in React using React Router. This guide covers how to set up authentication, role-based authorization, and secure routing to keep certain components like chat, video, and admin-only features in a React application.
For authentication and authorization, React Router offers a simple method to create protected routes that demand authentication for access. By default, these routes are treated as public routes and anyone can access them. Following React routing best practices, you can create a more secure and structured navigation experience by restricting access to sensitive routes.
To create a protected route, you need to use the React Router Route component and specify the route path provider component that you want to protect. Next, you can utilize the render prop function to selectively render the component you wish to protect - a common React Router best practice.
This is a component that you would usually use whenever you want to protect certain pages or routes in your React application, and only allow a signed-in user to access them. This is common in a lot of React applications that have authentication.
If you have authenticated users, you often want to protect certain parts, private routes, of your application and only make sure that signed-in users can access them. React uses a very popular client-side routing library, React Router DOM. React Router DOM, if you're not aware of this library, you can use it to implement routing in your React application.
Install Node.js: If you haven't already, download and install Node.js from nodejs.org. This will also install npm, the Node.js package manager.
Create a New React app: Open your terminal (command prompt) and run the following command to create a new React application called chat-app
npx create-react-app chat-appNavigate to Your App: Once the installation is complete, navigate into the newly created app directory
cd my-appInstall React Router DOM: Install React Router DOM, you can do so by running
npm install react-router-domIt is not necessary that you would have heard about the word route or router before, so it is crucial to define it here. In simple words, a route is a path or a route path a way to get to somewhere. The meaning of route in React is also similar to the above meaning. React Router is by itself a React component that allows you to navigate between React components.
Moreover, it is common knowledge that React is a single-page application that has only one index.html page in the entire application. When we implement a React Router the different components get rendered on the index.html page at the same time or at different times based on different logic and conditions.
import React from 'react'
import {
  BrowserRouter,
  Route,
  Routes,
  Link
} from 'react-router-dom'
Routing in React router has 4 basic aspects. They are as follows:
BrowserRouter
BrowerRouter is a parent component that allows to wrap child elements of the application route. Using the BrowserRouter, we can access the browser history. Sometimes, it can rename the route element as router.
Route
In simple terms, Route helps you link different parts of your app to specific React components.
Routes
In simple terms, the Routes component is like a container that holds and manages multiple Route components, which determine what content to display based on the current URL.
Link
When you want a text to act as a link to navigate to a different route within your app, you can use the Link component from react-router-dom. The Link component takes a to prop, which specifies the URL of the route you want layout component to link to. For example, if you want to link your navigation items to their respective pages, your code would look something like this:
 <Link to={"/video"} ><button>Share</button></Link>
<Link to={"/room"}><button>Join</button> </Link> Authentication is the way to ensure someone is who they say they are. It involves checking the credentials they provide, like a username and password, to verify their identity. This authentication process helps ensure that only authorized users can access certain information or features. For example, when you log into a website, you're using authentication to prove that you're the rightful user.
Now that we have our project set up, let's define the routes for our application. Create a new file named Router.js in the src directory of your project and add the following code:
import React from 'react';
import { createBrowserRouter } from 'react-router-dom';
import Cookies from 'js-cookie';
import Login from './Login';
import ProtectedRoute from './ProtectedRoute';
import Chat from './Chat';
import ChatList from './ChatList';
import Video from './Video';
import Room from './Room';

// Function to get the access token from cookies
const getAccessToken = () => {
  return Cookies.get('accessToken');
}

// Function to check if the user is authenticated
const isAuthenticated = () => {
  return !!getAccessToken();
}

// Create the router configuration
const router = createBrowserRouter(
  [
    {
      path: '/',
      element: <Login />,
      index: true
    },
    {
      element: <ProtectedRoute isAuthenticated={isAuthenticated()} />,
      children: [
        {
          path: '/chat-list',
          element: <ChatList />
        },
        {
          path: '/chat',
          element: <Chat />
        },
        {
          path: '/video',
          element: <Video />
        },
        {
          path: '/room',
          element: <Room />
        },
      ]
    },
    {
      path: '*',
      element: <p>404 Error - Nothing here...</p>
    }
  ]
);

export default router;
The createBrowserRouter function
In this file, we define our routes with React router using the createBrowserRouter function from react-router-dom. We have routes for the login page ( /), a protected route ( /chat-list, /chat, /video, /room), and a wildcard route ( *) for handling 404 errors.
Creating the ProtectedRoute Component
Next, let's create the ProtectedRoute component that will handle authentication and rendering of protected routes. Create a new file named ProtectedRoute.js in the src directory and add the following code
// src/ProtectedRoute.js
import React from 'react';
import { Navigate, Outlet } from 'react-router-dom';

const ProtectedRoute = ({ isAuthenticated }) => {
  if (!isAuthenticated) {
    return <Navigate to="/" replace />;
  }

  return <Outlet />;
};

export default ProtectedRoute;
User Authentication
In this component, we check if the user is authenticated ( isAuthenticated) and render the child routes ( <Outlet />) if authenticated. If not an authenticated user, we redirect the user to the login page ( <Navigate to="/" replace />).
Updating the App Component
Finally, we need to update the App component to use our router configuration. Open the App.js file in the src directory and replace its contents with the following code:
// src/App.js
import React from 'react';
import { RouterProvider } from 'react-router-dom';
import router from './Router';

function App() {
  return (
    <RouterProvider router={router} />
  );
}

export default App;Authentication is the process of verifying the identity of a user or application. In the context of the provided code, authentication is used to ensure that only authenticated users can access certain parts of the application, such as the chat, video, and room components.
In the code, authentication is implemented using a function called isAuthenticated, which checks if a specific cookie ( accessToken) exists. If the cookie exists, it means the user is authenticated, and they are granted access to the protected routes. If the cookie does not exist, the user is redirected to the login page ( <Login />).
Authentication is crucial for ensuring the security of your application and protecting sensitive information. By authenticating users, you can control access to certain parts of your application and ensure that only authorized users can perform certain actions.
Protected routes are routes in a web application that require the user to be authenticated before they can access them. These routes are typically used to protect sensitive or private content that should only be accessible to authenticated users.
In the provided code, the ProtectedRoute component is used to create protected routes. This component takes a token prop, which is used to determine if the user is authenticated. If the user is authenticated (i.e., the token is present), the ProtectedRoute component renders its child components (the ChatList, Chat, Video, and Room components), allowing the user to access these routes.
If the user is not authenticated (i.e., the token is not present), the ProtectedRoute component redirects the user to the login page ( <Login />) using the Navigate component from React Router.
By using protected routes, you can control access to certain parts of your application and ensure that only authenticated users can access sensitive content.
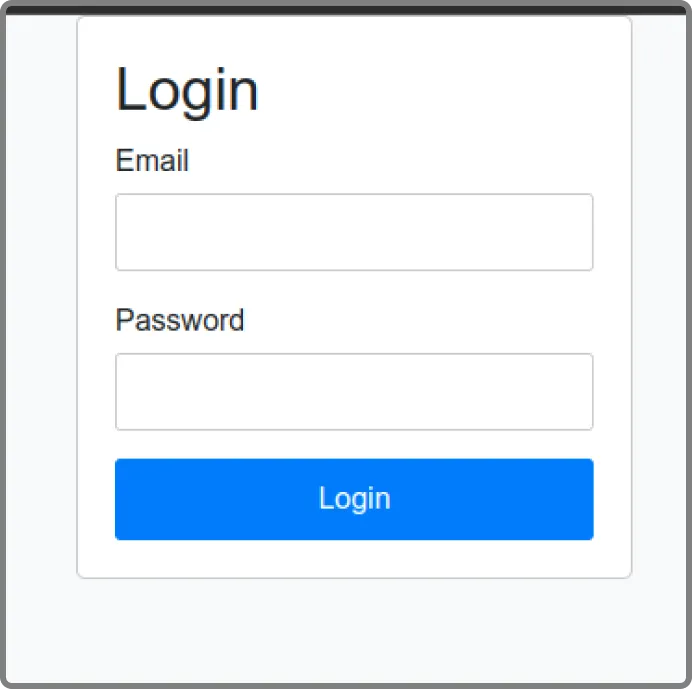
First, we have to log in with user details email, and password. The login page is not in a protected route that's why we can access this.
When a user tries to access a protected route without being authenticated, you can handle this by redirecting them to a login page or showing an error message.
For this, we store our tokens in cookies. You can also use local storage if there is no token in storage then the value returned by the getToken function is null. If the token gets null, we can navigate or redirect our route to /login path. You can use local storage to store authentication tokens or user information.
Enhanced Security, Improved UX, and Optimized Development All for You
Angular Minds, a React development company is an expert in creating web applications that will boost user experience and the entire development.
In this chat application, we can authorize the user if a user is an admin only then does he get permission to send messages. For this, we check if the user is an admin or not.
// Assume you have a function to get the current user's role
const getUserRole = () => {
  // Return the user's role from your storage or authentication mechanism
  return 'admin'; // For example purposes
};

// Component to display the chat messages
const Chat = () => {
  const [message, setMessage] = useState('');
  const userRole = getUserRole();

  const handleMessageSend = () => {
    // Check if user is authorized to send messages
    if (userRole !== 'admin') {
      console.log('Only admins can send messages.');
      return;
    }

    // Logic to send the message
    console.log('Message sent:', message);
    setMessage('');
  };

  return (
    <div>
      <input
        type="text"
        value={message}
        onChange={(e) => setMessage(e.target.value)}
      />
      <button onClick={handleMessageSend}>Send</button>
    </div>
  );
};

export default Chat;
In this example, the getUserRole function is used to determine the user's role. If the role is not 'admin', the message-sending process is halted, and a message is logged to the console. Otherwise, the message is sent as usual. In a real application, you would replace the getUserRole function with your actual authentication and role-checking mechanism.
We've explored the process of implementing authentication and authorization in a React application Authentication ensures that users are who they claim to be, while authorization controls what authenticated unauthenticated users can do within the application.
We've kept our focus on the authorization aspect, specifically allowing only administrators to send messages in a group chat. By checking the user's role before sending a message, we've ensured that only admins can perform this action.
By using React Router for routing and managing different parts of the application, we've created a seamless user experience that restricts access based on user roles. This approach enhances the security and usability of the chat application, making it suitable for various real-world scenarios where role-based access control is essential.


This website uses cookies to analyze website traffic and optimize your website experience. By continuing, you agree to our use of cookies as described in our Privacy Policy.